Get a Free Domain: Easy Steps, No Hidden Costs
In today’s digital-first world, having a domain name is essential for establishing an online presence. Whether you’re launching a personal blog, a portfolio, or a small business website, a domain name is your address on the internet. While domain names typically come with a cost, there are legitimate ways to get a free domain without hidden fees or scams. In this guide, we’ll walk you through the easy steps to secure a free domain name, explain the limitations, and provide tips to ensure you’re getting a genuine deal.
Why Get a Free Domain?
Before diving into the steps, let’s explore why you might want a free domain:
- Budget-Friendly: Free domains are ideal for individuals or small businesses with limited budgets.
- Test Projects: If you’re experimenting with a new idea or building a temporary website, a free domain is a low-risk option.
- Learning Opportunity: Beginners can use free domains to learn about website creation and management without financial commitment.
- Short-Term Needs: For events, campaigns, or short-term projects, a free domain can be a practical solution.
However, it’s important to note that free domains often come with limitations, such as less professional-looking URLs (e.g., yourname.freesite.com) or restricted features. If you’re building a long-term project or a professional website, investing in a custom domain (e.g., yourname.com) is usually the better choice.
Steps to Get a Free Domain (No Hidden Costs)
Here’s a step-by-step guide to getting a free domain name without falling into scams or hidden fee traps:
1. Choose a Reputable Platform Offering Free Domains
Several legitimate platforms offer free domains or subdomains as part of their free plans. Here are some popular options:
a. Freenom
Freenom is one of the few services that offers completely free domain names with extensions like .tk, .ml, .ga, .cf, and .gq. While these extensions are less common, they are legitimate and can be used for personal or small projects.
Steps to Get a Free Domain with Freenom:
- Visit Freenom’s website.
- Search for your desired domain name (e.g., yourname.tk).
- If the domain is available, select it and proceed to checkout.
- Choose the “Free” option (usually for 12 months).
- Complete the registration process without providing payment details.
- Manage your domain through Freenom’s control panel.
Pros:
- Completely free for the first year.
- No hidden costs if you stick to the free plan.
- Easy to set up and manage.
Cons:
- Limited domain extensions (.tk, .ml, etc.).
- Less professional-looking compared to .com or .net domains.
- Requires renewal after 12 months (still free if available).
b. Website Builders with Free Subdomains
Many website builders offer free subdomains as part of their free plans. While these subdomains include the platform’s name (e.g., yourname.wixsite.com), they are a great option for beginners.
Popular Platforms:
- Wix: Offers a free subdomain (e.g., yourname.wixsite.com) with 500MB storage and 500MB bandwidth.
- WordPress.com: Provides a free subdomain (e.g., yourname.wordpress.com) with 3GB storage.
- Weebly: Offers a free subdomain (e.g., yourname.weebly.com) with basic features.
Steps to Get a Free Subdomain:
- Sign up for a free account on the platform of your choice.
- Choose a template and start building your website.
- Use the free subdomain provided by the platform.
- Publish your website and share your free subdomain URL.
Pros:
- No technical skills required.
- Includes free hosting and website-building tools.
- Great for beginners.
Cons:
- Subdomains include the platform’s name (e.g., yourname.wixsite.com).
- Limited customization and features on free plans.
- May display ads or branding from the platform.
c. GitHub Pages
GitHub Pages is a free hosting service for static websites. While it doesn’t offer custom domains for free, you can use a GitHub-branded subdomain (e.g., yourname.github.io) at no cost.
Steps to Use GitHub Pages:
- Create a GitHub account (if you don’t have one).
- Create a new repository named “yourusername.github.io” (replace “yourusername” with your GitHub username).
- Upload your website files to the repository.
- Go to the repository settings and enable GitHub Pages.
- Your website will be live at “yourusername.github.io”.
Pros:
- Completely free hosting.
- No ads or branding on your website.
- Great for developers and tech-savvy users.
Cons:
- Limited to static websites (no server-side scripting).
- Requires some technical knowledge.
- Custom domains are not free.
2. Avoid Hidden Costs
While the platforms mentioned above offer genuinely free domains or subdomains, it’s important to be cautious of hidden costs. Here’s how to avoid them:
- Read the Terms and Conditions: Always review the platform’s terms to understand any potential fees, such as renewal costs or mandatory add-ons.
- Don’t Provide Payment Details: If a platform asks for your credit card information for a “free” domain, it’s likely a scam or a trial that will auto-renew into a paid plan.
- Check for Upselling: Some platforms may try to upsell you on premium features, hosting, or email services. Stick to the free plan if you’re on a budget.
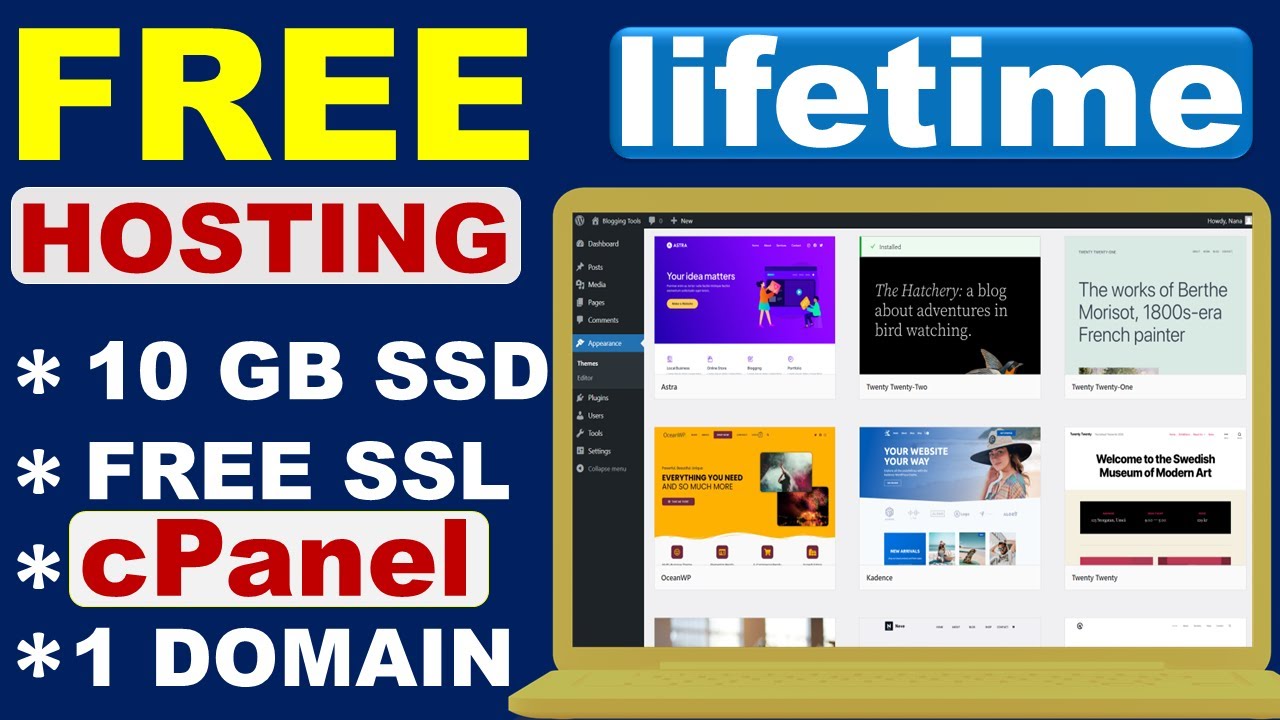
3. Use Free Hosting Services
If you’re using a free domain from Freenom or another provider, you’ll need hosting to make your website accessible. Here are some free hosting options:
a. InfinityFree
InfinityFree offers free hosting with unlimited bandwidth and 5GB disk space. It supports PHP and MySQL, making it a good option for small websites.
Steps to Use InfinityFree:
- Sign up for a free account on InfinityFree.
- Choose a free subdomain (e.g., yourname.epizy.com) or connect your Freenom domain.
- Upload your website files using the control panel or FTP.
- Your website will be live at your chosen subdomain or custom domain.
Pros:
- Completely free hosting.
- No ads on your website.
- Supports PHP and MySQL.
Cons:
- Limited storage and features.
- Subdomains include the hosting provider’s name.
b. 000WebHost
000WebHost by Hostinger offers free hosting with 300MB storage and 3GB bandwidth. It’s a good option for small projects or testing.
Steps to Use 000WebHost:
- Sign up for a free account on 000WebHost.
- Choose a free subdomain (e.g., yourname.000webhostapp.com) or connect your custom domain.
- Upload your website files and publish your site.
Pros:
- Free hosting with basic features.
- No ads on your website.
Cons:
- Limited storage and bandwidth.
- Subdomains include the hosting provider’s name.
4. Monitor Your Domain and Website
Once you’ve secured your free domain and set up your website, it’s important to monitor it regularly:
- Renew Your Domain: If you’re using Freenom, make sure to renew your domain before it expires (usually after 12 months).
- Check for Downtime: Free hosting services may have occasional downtime, so monitor your website’s performance.
- Backup Your Data: Free hosting plans often lack robust backup options, so regularly back up your website files.
Tips for Maximizing Your Free Domain
- Keep It Professional: Even with a free domain, ensure your website looks professional. Use clean designs, high-quality images, and clear content.
- Optimize for SEO: Use relevant keywords, meta descriptions, and alt text to improve your website’s search engine ranking.
- Promote Your Website: Share your website on social media, forums, and other platforms to drive traffic.
- Upgrade When Needed: If your website grows, consider upgrading to a paid domain and hosting plan for better features and professionalism.
Conclusion
Getting a free domain is a great way to start your online journey without breaking the bank. By following the steps outlined above, you can secure a free domain name with no hidden costs and start building your website today. However, always be mindful of the limitations of free domains and hosting services, and consider upgrading to a paid plan as your needs grow.
Whether you’re creating a personal blog, a portfolio, or a small business website, a free domain can be the first step toward establishing your online presence. So, take advantage of these legitimate options, avoid scams, and start showcasing your work to the world!