
Capture stunning, bright photos with the Sony α6400. This versatile mirrorless camera handles many lighting conditions. But, to get the brightest images, you need to set it up right. Choosing perfect settings helps you avoid overexposure, noise, and dull images. In this guide, you’ll learn the best settings, techniques, and tips for bright photos.
Understanding the Sony α6400’s Sensor and Image Processing Capabilities
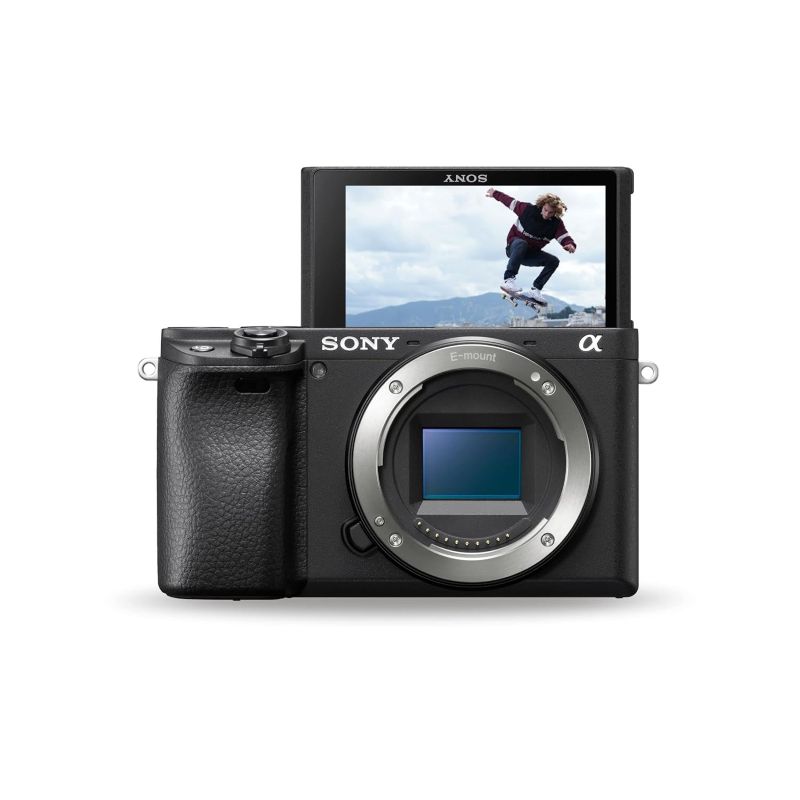
Sensor specifications and how they influence brightness
The Sony α6400 sports an APS-C sensor, which is larger than typical point-and-shoots. This means better light collection, producing brighter, clearer images in sunlight. The larger sensor captures more detail and handles high-contrast scenes well. Want more vibrant colors? The sensor’s size is a big plus.
Image processing engine (BIONZ X) and its role
Sony’s BIONZ X engine works fast to process your photos. It enhances brightness, sharpness, and reduces noise. When lighting is good, this engine helps you get clean, vivid images. It also improves how the camera balances different light levels in scenes.
Impact of in-camera features like Dynamic Range and Color Profile
These options boost tone and color, making your photos pop. Dynamic Range settings help prevent blown-out highlights and crushed shadows. Color profiles, like Standard, Vivid, or Landscape, can make your photos appear brighter and more lively straight out of the camera.
Essential Camera Settings for Bright Photos
Shooting Mode: Manual (M), Aperture Priority (A), or Program Auto (P)
- Use Manual mode when you want full control over exposure.
- Aperture Priority is great for quick shots. Set the aperture, the camera adjusts the shutter speed.
- Program Auto adjusts both but allows you to tweak settings for brightness.
These modes help you control how much light hits your sensor, avoiding under- or overexposure.
ISO Settings
- Keep ISO between 100-400 in bright conditions. Higher ISO can cause noise.
- For outdoor sunny days, stick to ISO 100-200.
- When light is lower, raising ISO boosts brightness, but beware of grain.
- Use ISO creatively by adjusting for fast-moving scenes or shade, not just to brighten photos.
Aperture Settings
- Bright photos usually need a smaller f-number, like f/2.8 or f/4, letting more light in.
- For landscapes with bright skies, a mid-range aperture (f/8) keeps everything sharp.
- Use wider apertures for brighter backgrounds or portraits.
- Adjust based on scene to balance brightness and depth of field.
Shutter Speed
- Set fast shutter speeds (like 1/500s) to prevent overexposure in sunlight.
- Use slower speeds (1/100s) for creative effects or when using filters.
- In bright light, fast shutter speed helps freeze motion, keeping clarity.
- Remember, very slow speeds may require a tripod to avoid blur.
Exposure Compensation
- Dial in positive values (+1 or +2 stops) to brighten images when needed.
- Use in high-contrast scenes, like snow or beaches, to make the photo look brighter.
- Keep adjustments small for natural-looking brightness.
Advanced Techniques to Enhance Brightness
Using the Sony α6400’s Spectra and HDR Modes
- Spectra mode boosts color and brightness in scenes with lots of contrast.
- HDR captures multiple shots and combines them into a brighter, balanced image.
- Perfect for scenes with dark shadows and bright highlights, like sunsets.
Leveraging the Picture Profile and Creative Styles
- Customize contrast, saturation, and sharpness for brighter, vibrant pictures.
- Use styles like “Vivid” or “Landscape” to make colors pop right away.
- Adjust these settings to suit outdoor, bright day photography.
Employing Filters and External Accessories
- ND filters reduce light entering the lens, ideal in very bright environments.
- Use polarizers to improve colors and cut reflections, especially on water or glass.
- These tools help you take bright images without overexposing.
Focus Settings for Bright Photos
- Use AF-C (continuous autofocus) to keep moving subjects sharp in sunlight.
- Face detection makes portraits crisp and well-lit.
- Set focus points carefully to avoid missed shots caused by harsh lighting.
Practical Shooting Tips for Bright Photos
Best times of day for bright photography
- Midday sun offers the brightest light, but beware of harsh shadows.
- Golden hour (early morning or late afternoon) gives softer, warmer light.
- Overcast days diffuse sunlight, often making photos look balanced.
Composition techniques
- Use bright backgrounds to frame your subject.
- Leading lines guide the eye and enhance brightness perception.
- Pay attention to reflections and glare that might skew your shot.
Stabilization methods
- Use a tripod or monopod to keep the camera steady.
- In bright light, slower shutter speeds are fine if stabilized.
- Camera’s in-body stabilization (IBIS) can also help prevent blur.
Post-processing adjustments
- Brightness and contrast sliders can enhance dull or overly bright images.
- Use editing software like Lightroom or Photoshop to fine-tune exposure.
- Don’t overdo it—preserve details in highlights and shadows.
Common Challenges and How to Overcome Them
Overexposure issues
- Recognize overexposure by blown-out highlights.
- Use the histogram to check brightness levels during shooting.
- Adjust shutter speed or exposure compensation as needed.
Highlight clipping
- Clipping occurs when details in bright spots vanish.
- Use HDR or shadow recovery in editing to retrieve lost detail.
- Keep an eye on bright areas on your camera’s preview.
Managing reflections and glare
- Use lens hoods to block stray light.
- Polarizing filters cut reflections and improve sky or foliage brightness.
- Change angles to avoid unwanted glare on reflective surfaces.
Conclusion
Getting bright, eye-catching photos with the Sony α6400 is easier when you master the right settings. Focus on controlling ISO, aperture, and shutter speed to keep the scene properly exposed. Use advanced modes like HDR and spectral modes for high-contrast scenes. Incorporate filters, stabilize your shots, and edit carefully afterward. Remember, understanding your camera’s capabilities makes all the difference. With these tips, you’ll produce vibrant, bright images in any lighting condition. Start experimenting today, and watch your photos shine.