

If you’ve just bought the Vjianger 4K camera, you’re in for a treat. This camera is popular because it captures crisp, clear images in 4K resolution. That means photos and videos with sharp details and vibrant colors. But to really get the most from it, you need to understand how it works. Knowing its features and functions is the key to making your photos stand out.
In this guide, we’ll walk you through everything you need to know. From setting up your camera to capturing professional-looking shots, we’ll cover tips for beginners to become confident photographers.
Understanding the Vjianger 4K Camera: Features and Specifications
Overview of Key Features
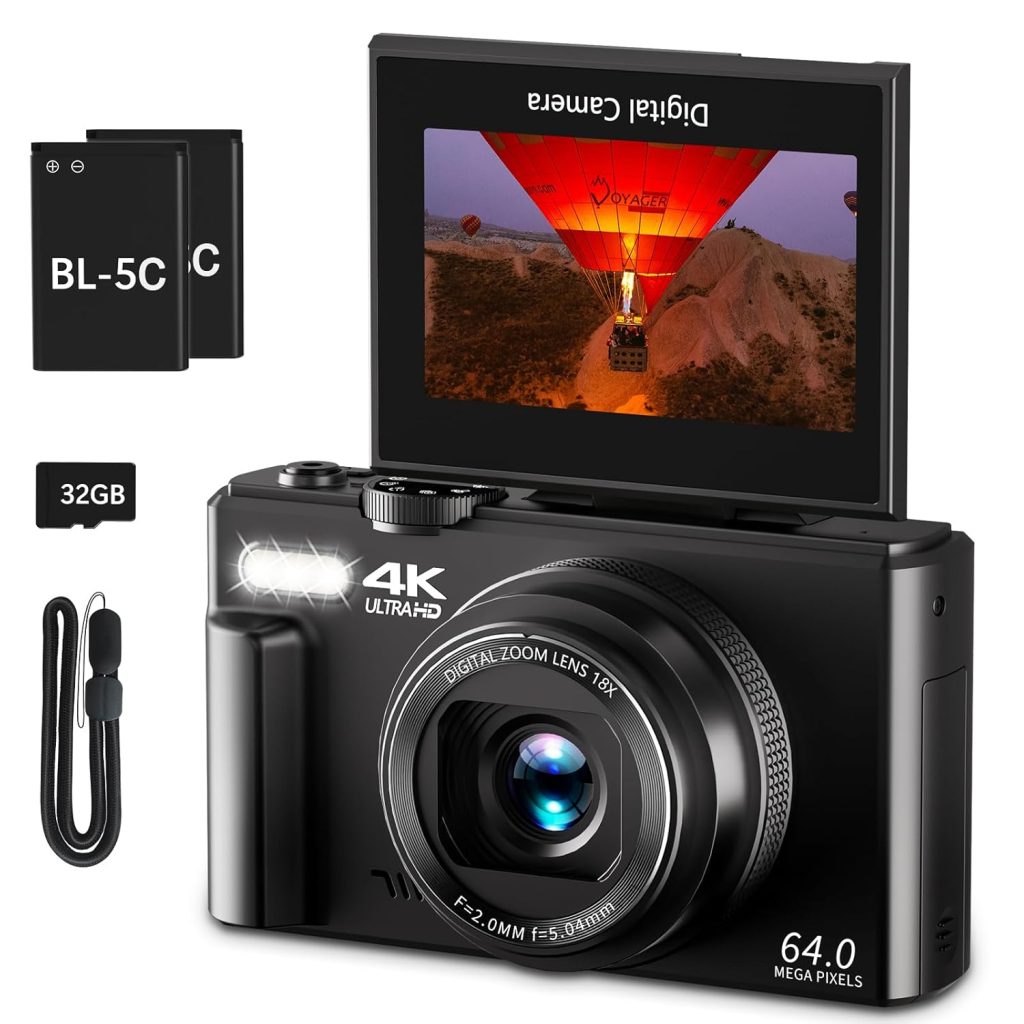
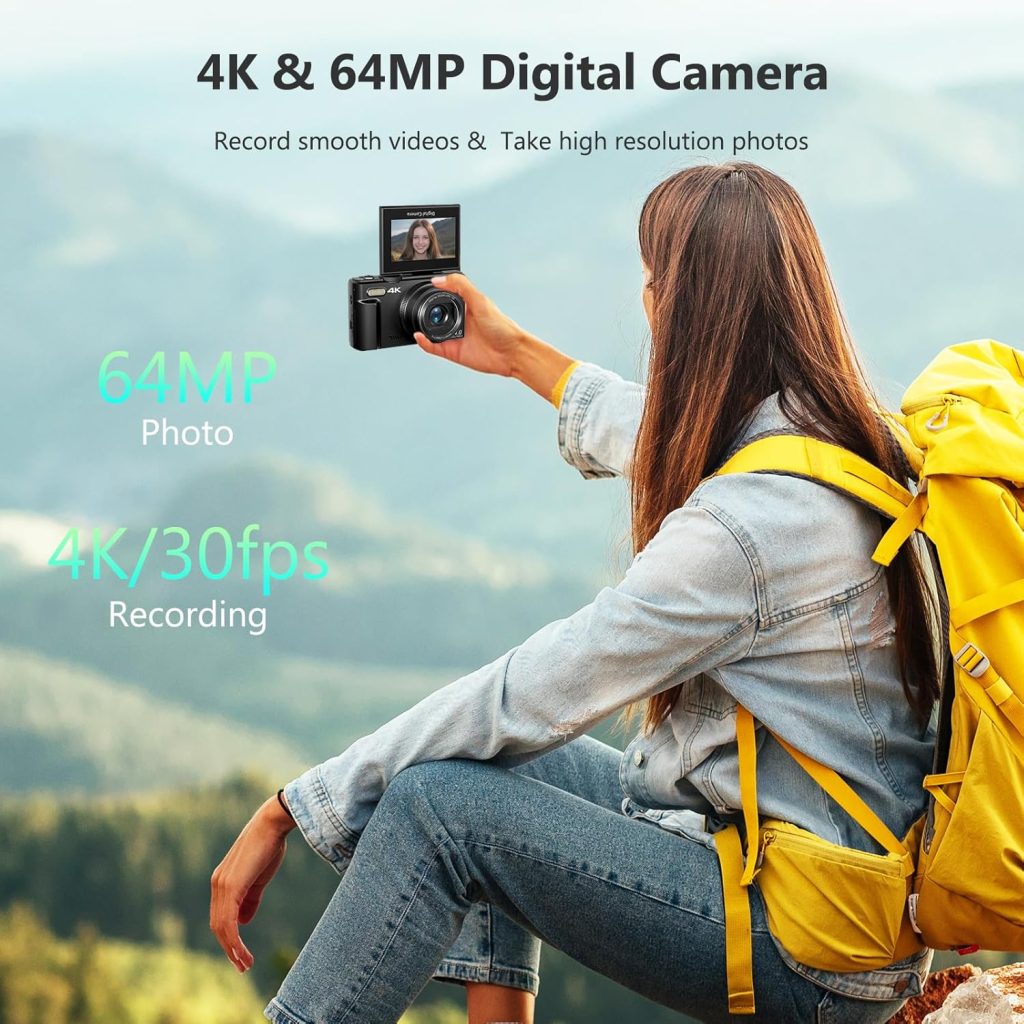
The Vjianger 4K camera packs a punch. Its core feature is the 4K resolution, which gives you videos and photos that are sharp and detailed. Whether you’re shooting a sunset or a cityscape, details pop with clarity. The camera’s sensor is designed to handle various lighting conditions, making it versatile.
Good image stabilization helps keep your shots smooth, even if your hands shake. You’ll find different lens options too, allowing you to choose the right one for wide landscapes or close-up shots. Connectivity features like Wi-Fi, Bluetooth, and HDMI let you easily transfer files, control your camera remotely, or connect to external screens. These options give you a smooth workflow and more creative control.
Technical Specifications and How They Impact Photography
The Vjianger 4K has a high megapixel count, meaning it captures lots of details. The larger sensor size improves image quality, especially in low light. When it comes to video, you can shoot at different frame rates, such as 24, 30, or 60 fps. This flexibility is perfect for creating slow-motion footage or smooth videos.
Battery life can vary, so plan your shoots accordingly. The camera also supports different storage options, like microSD cards, for extended filming sessions. Knowing these specs helps you choose the right settings for each shoot, whether you’re capturing a quick portrait or an extended landscape session.
Setting Up Your Vjianger 4K Camera for Success
Initial Configuration and Settings
Before you start shooting, make sure your camera is powered up and ready. Fully charge the battery and insert a fast SD card—at least Class 10—for quick data transfer. Set your preferred resolution—usually 4K for the best quality—and adjust basic settings like ISO, white balance, and focus.
Different scenes call for different settings. For bright outdoors, lower ISO values prevent grain. In low light, bump up the ISO but be careful of noise. White balance helps colors look natural, whether you’re indoors or outside. Always review your focus mode—auto-focus for quick shots or manual focus for detailed control.
Customizing Shooting Modes and Functions
Vjianger offers preset modes—portrait, landscape, night—making it easy for beginners. Use these for simple, fast results. But for consistency, creating custom profiles tailored to your style is a smart move. Save your favorite settings so you can switch quickly between scenes.
Choosing the right mode involves understanding your environment. For portraits, soft focus with good background blur works best; for sports, fast shutter speeds are critical. Practice switching modes and adjusting settings to match different conditions.
Firmware Updates and Maintenance Tips
Always keep your camera’s firmware up to date. Manufacturers roll out updates that fix bugs and add new features. Check for updates regularly on the official site.
Simple cleaning extends your camera’s life. Use a soft cloth for the lens and body. Avoid touching the sensor, but if needed, have a professional clean it. Proper care keeps your camera working smoothly and your photos sharp.
Mastering Basic Shooting Techniques with the Vjianger 4K Camera
Composition and Framing Tips
Good photos depend on composition. Use the rule of thirds—imagine dividing your frame into nine parts and place important elements along those lines. Leading lines draw the viewer’s eye toward the subject. Look for natural frames like archways or trees to add depth.
Lighting is crucial. Natural light is best, especially during sunrise or sunset — the golden hour. It makes colors warm and shadows soft, giving your photos more life.
Exposure Control and Focus Settings
Manual focus lets you decide exactly what’s sharp. Auto-focus is quick but can sometimes miss the mark. Switch based on your scene for crisp results.
Adjust aperture, shutter speed, and ISO to control exposure. For bright scenes, lower ISO and faster shutter speeds prevent overexposure. For low light, open the aperture wider and slow down the shutter—be sure to stabilize the camera!
Practical Shooting Tips for Beginners
Stabilization is key. Use a tripod or gimbal, especially for long exposures or night shots. The built-in stabilization features help too, but extra support makes a big difference.
In tricky conditions like low light or moving subjects, slow down and plan your shot. For example, capturing city lights at night requires longer exposure times. Use a timer or remote shutter to avoid shake. Practice these techniques to improve steady, clear photos over time.
Enhancing Your Photos: Editing and Post-Processing
Best Editing Practices for 4K Footage and Photos
Editing brings your photos and videos to life. Use programs like Adobe Lightroom for photos. Adjust colors, brighten shadows, and sharpen details. Keep edits natural for professional results.
For videos, Adobe Premiere Pro or DaVinci Resolve work well. Cut clips smoothly, add music, and correct colors if needed. Adjust contrast and saturation to match your style.
Exporting and Sharing for Impact
Optimize files for sharing. For web and social media, lower resolutions—1080p or 720p—and use formats like JPEG or MP4. For printing, keep high-resolution files with minimal compression.
Create eye-catching photo stories or galleries. Use bright titles and captions to tell your story. Sharing your work on platforms like Instagram or your blog helps others see your progress.
Advanced Tips for Getting Creative with the Vjianger 4K Camera
Exploring Video Capabilities for Content Creators
High frame rates—such as 120 fps—allow slow-motion footage. This adds drama or detail to your videos. Experiment with cinematic effects by adjusting shutter speeds or adding transitions.
Using Accessories and Add-Ons to Expand Creativity
Enhance your camera with accessories. External microphones improve sound quality. Different lenses broaden your creative options—from wide-angle for landscapes to macro for close-ups. Lighting equipment can make a huge difference in low-light scenes.
You can also mount your camera on drones or stabilizers. These tools help you shoot dynamic, professional-looking footage that grabs attention.
Learning from Tutorials and Community Insights
Look for online tutorials tailored to beginners. Platforms like YouTube have countless step-by-step guides. Join photography and videography communities to share tips and get inspired.
Following professional photographers can teach you new techniques and give ideas to push your skills further.
Conclusion
Getting the most from the Vjianger 4K camera isn’t just about knowing its specs. It’s about experimenting with settings, mastering techniques, and editing creatively. Practice regularly, and don’t be afraid to try new things. Over time, your photos will improve, and your videos will become more polished. Spend time learning how your camera works, and your images will truly stand out. With patience and effort, you’ll unlock the full potential of your Vjianger 4K camera and produce stunning work that impresses everyone.